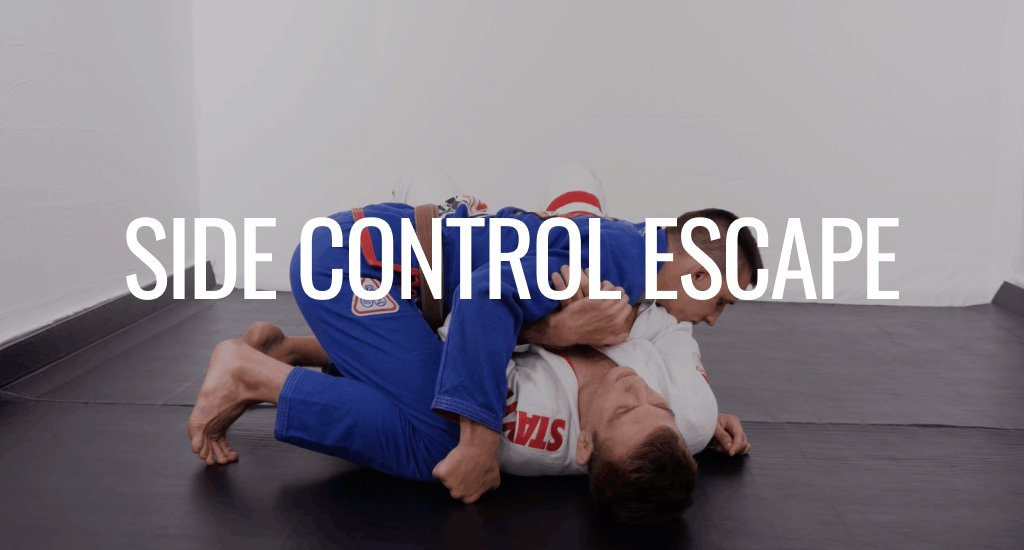
Side Control Escape: The Complete Defense Guide
By BJJ Sportswear Editorial Team
Reviewed by competitive black belts | Last Updated: February 1, 2026
Being stuck in Side Control is suffocating.
Unlike Mount, where you can bridge to off-balance the opponent, Side Control allows the top player to pin your chest, isolate your arms, and crush your face with their shoulder. It is statistically the hardest position to escape in grappling.
But as John Danaher says, escape is just a matter of “inside position.” If you can get your elbows and knees between you and your opponent, you are free.
In this guide, we break down the three most effective Side Control Escapes: the fundamental Elbow Escape, the sneaky Ghost Escape, and the aggressive Sit-Up Escape.
Table of Contents
Phase 1: Survival & Frames
Before you escape, you must stop them from submitting you.
- The Neck Frame: One forearm should be across their neck/throat. This prevents them from dropping their weight on your chest.
- The Hip Frame: Your other forearm should be wedged against their hip bone. This stops them from moving to North-South.
- Elbows In: Never let your elbows detach from your ribs. If they isolate an arm, you are in trouble.
Escape #1: The Elbow Escape (Shrimp to Guard)
This is the most important escape in BJJ. It relies on connecting your knee to your elbow.
- Bridge: Bridge explosively into the opponent. This forces them to react and creates a tiny gap.
- Shrimp: Immediately drop your hips and shrimp away from them.
- Knee Insert: Drag your bottom knee through the gap you created, aiming to touch your own elbow.
- Recover: Once your knee is inside, push them away to recover to Closed Guard or Butterfly Guard.
Escape #2: The Ghost Escape
Use this when the opponent is putting heavy pressure on your head or blocking your hips.
- The Setup: Instead of framing the neck, reach your near arm under their armpit (like you are hugging their back).
- The Walk: Walk your legs toward their head (North-South direction).
- The Duck: Bridge hard and duck your head under their armpit.
- The Ghost: Spin out the back door. You will end up behind them or in a Darce Choke position.
Escape #3: The Sit-Up Escape (Wrestle Up)
Popularized by Marcelo Garcia, this turns defense into offense.
- The Elbow Push: When they try to grab your head, use your hand to push their elbow over your head.
- Sit Up: As their arm clears your head, sit up explosively.
- Single Leg: Grab their leg (Single Leg Takedown) and drive them over or recover to Half Guard.
Troubleshooting: Why You Are Stuck
Mistake #1: Flat Back
If your spine is flat on the mat, you cannot move.
The Fix: You must always be on your side, facing the opponent.
Mistake #2: The “Hug”
Beginners often hug the opponent’s back. This traps you, not them.
The Fix: Keep your frames in front of you. Frames create space; hugs kill space.
Mistake #3: Ignoring the Cross-Face
If they turn your face away with their shoulder, you can’t bridge.
The Fix: Use the “Neck Frame” immediately. Do not let them control your head.
Frequently Asked Questions
Which escape is best for big opponents?
The Ghost Escape works well because it uses their forward pressure against them. The Elbow Escape can be hard if they are extremely heavy.
What if they switch to North-South?
If they move to North-South, you must switch to the North-South Escape (pendulum legs) immediately. Don’t wait.
Conclusion
The Side Control Escape is a battle for inside space.
If you can connect your elbow to your knee, you can recover guard. Focus on your frames, shrimp hard, and never accept the pin.